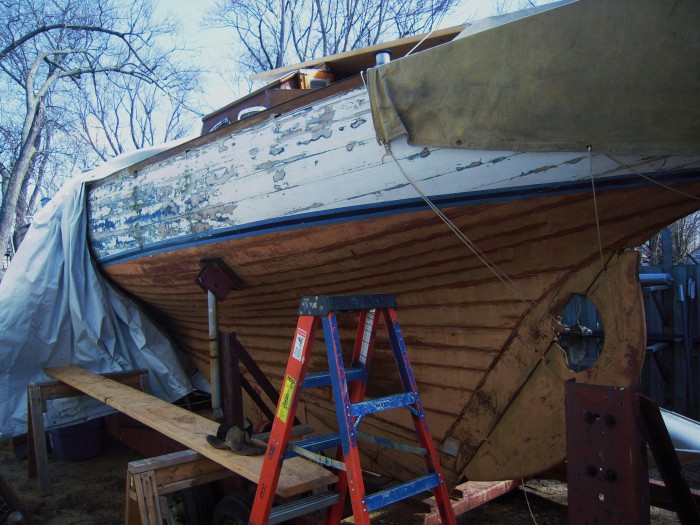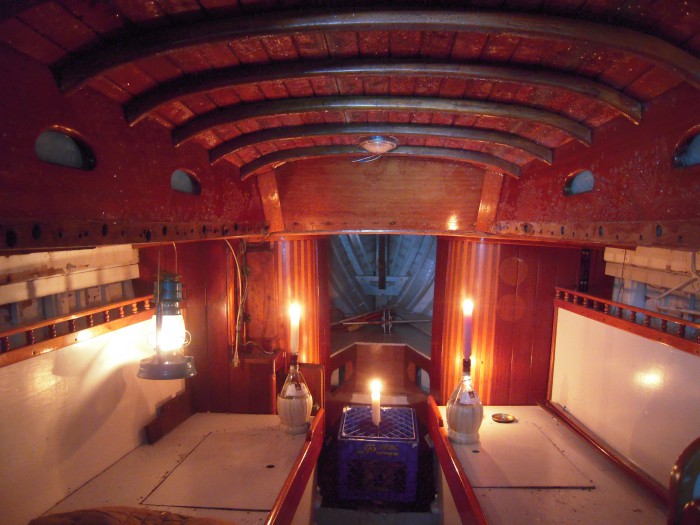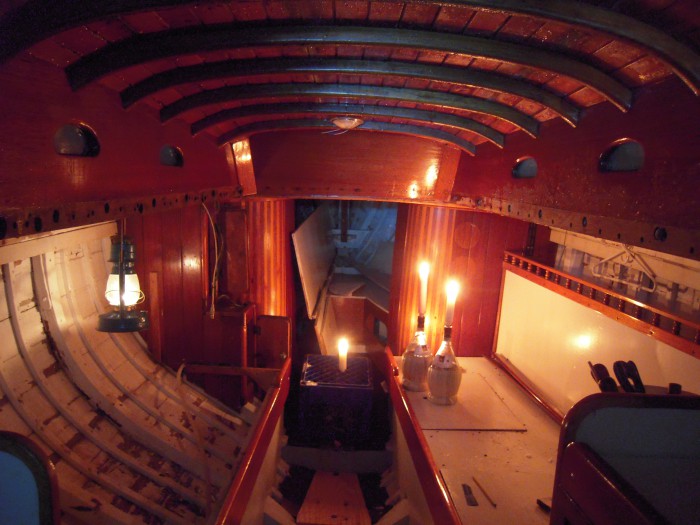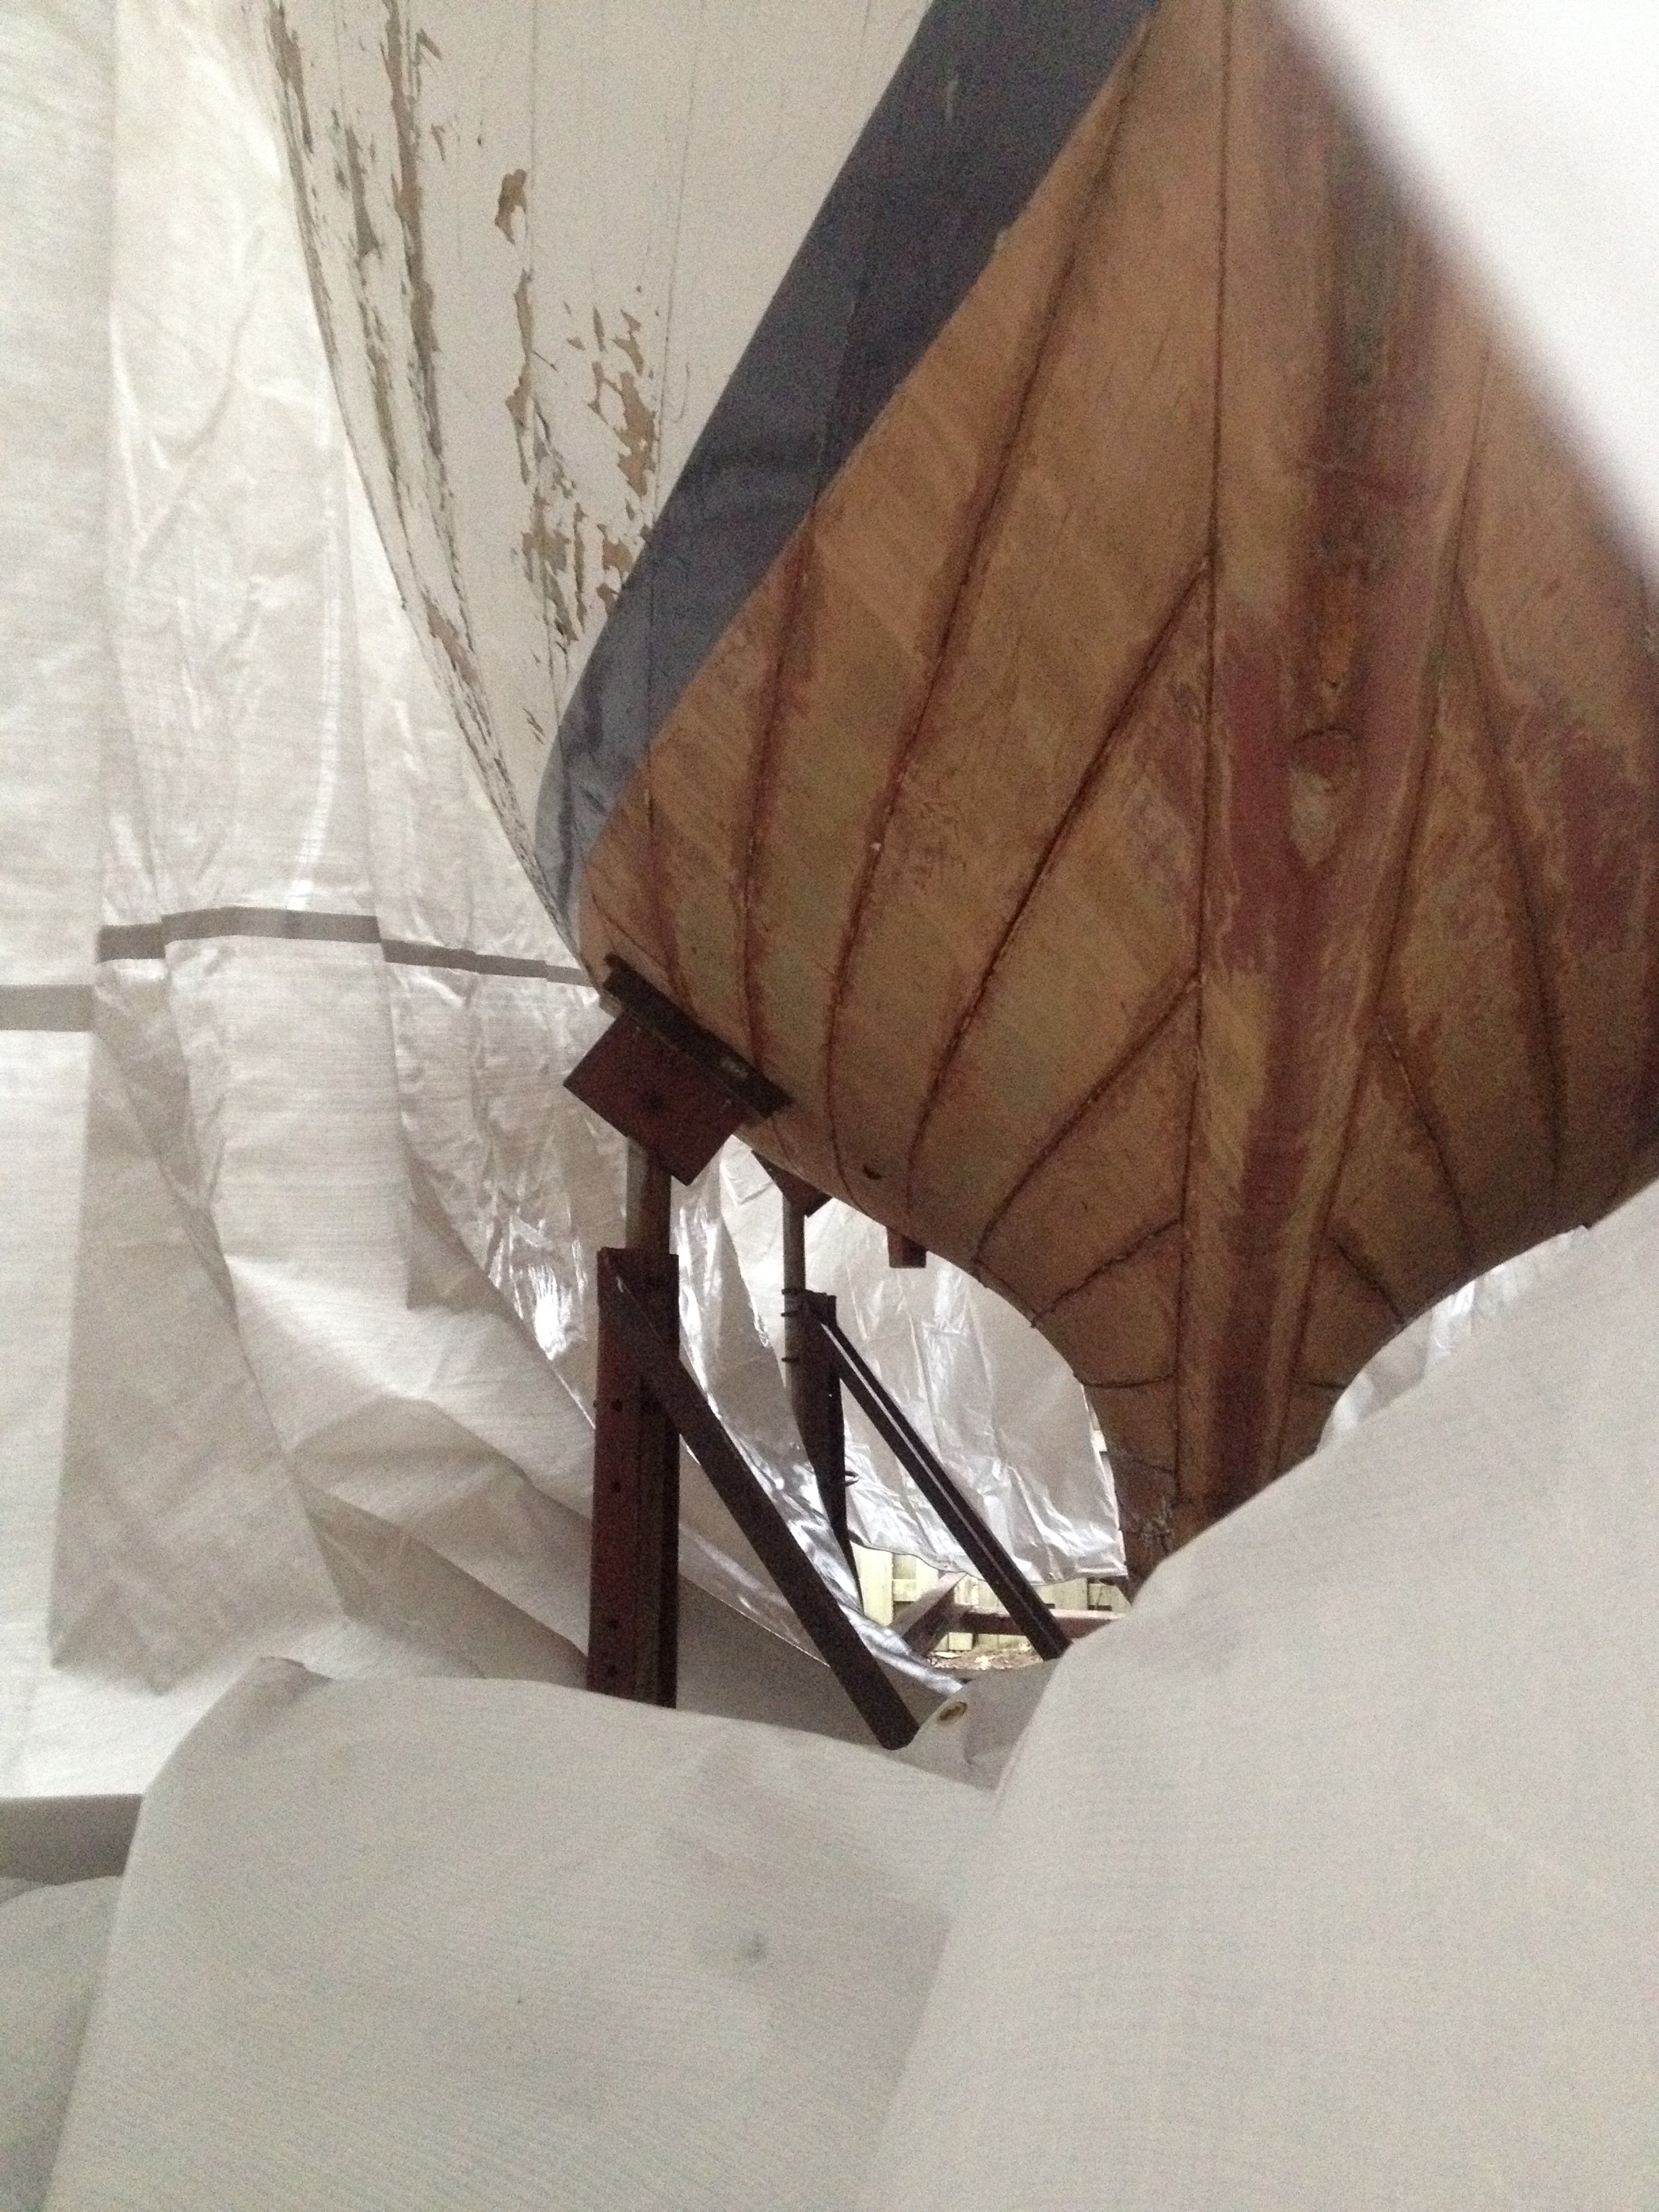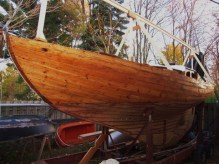

Reverie’s beautiful lines are evident even with her hull looking this way.
Boat repair and restoration requires both optimism (This can be done.) and realism (This is a mess.). Lately, it’s been a healthy dose of realism. A lot of the early work on Reverie has been assessing the situation of the leaking deck by finding the damage and what caused it. Rainwater from deck leaks is the culprit, of course, and the damage is insidious at best. This water coming down from the sky contains a rich collection of fungi and molds ready to set up shop on any food source. A wooden boat left out in the elements, uncovered for several years, with a leaking deck is a great place for these tiny creatures to do their business.
We got a tarp over Reverie last December, the first day we saw her. I knew that was the only way to slow down the rot that was beginning to consume her. Rot needs moisture and the first step was to get that out of the equation. The next step was to find the entry points where the green water was coming through and stop it. That was pretty easy as there’s rot in all of the places where the rain water was leaking below. As I was poking around in the tight confines of the forepeak, (Reverie was designed for sailing and not so much for below decks comfort), I found mushrooms had been growing in the corner joint of the fore hatch carline. They were dried and no longer actively growing but they were there. I’m sure spores are everywhere!
The next work session involves the complete removal of the fore hatch and immediate treatment with sodium tetraborate (good ol’ borax). We’re using borax to initially treat any spots that have begun to rot. It has excellent anti-fungal properties and is safe to use. It’s major downfall in marine use is that it’s water soluble and will leach out of wood that comes in contact with water. The immediate goal is to kill what rot is in the wood already and worry about long term treatment as the restoration progresses.
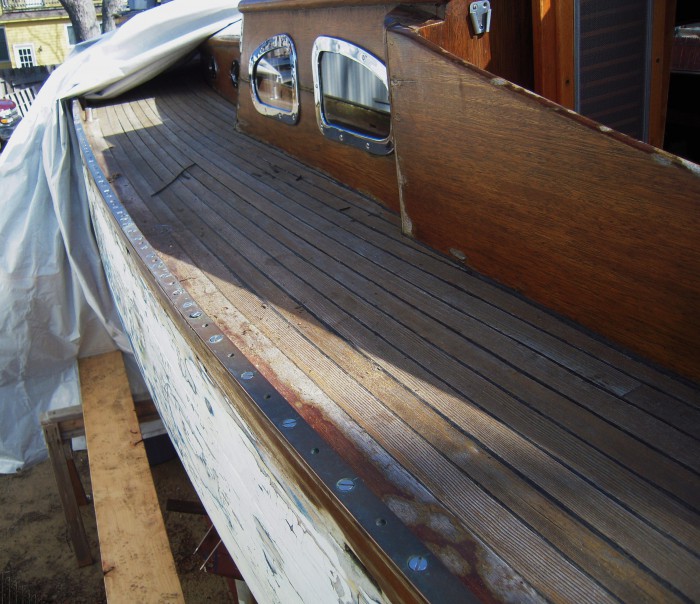
The real damage from all of this leaking water has been to the deck beams and it is obvious many of them need to be replaced. Getting at the deck beams is the reason for removing the covering board (the strip of teak that provides an edge for the decking and runs the full length of the hull). To get to the deck beam end requires removal of the jib tracks to get to the toe rail to get to the covering board. This all reminds me of the children’s song, I Know An Old Lady Who Swallowed A Fly. I just hope it doesn’t get to the point where I swallow the horse!

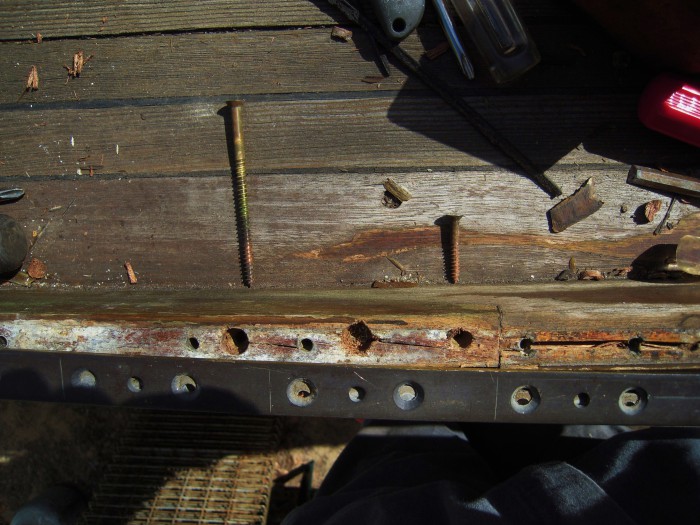
A big section of toe rail comes off!

Stanchion bases half screwed into the sheer clamp, half through covering board. I would like to see them 100% through bolted.
So, our work is exemplified in a children’s song. So be it. The initial tack was to get the covering board off which would provide access to the outer ends of the deck beams. While the toe rail was fastened to the covering board with 4 inch long bronze screws, the covering board is fastened to the sheer clamp and beam ends with steel screws. These screws are proving to be formidable opponents to extraction and it looks like they have a date with a date with a sawzall and metal cutting blade. We’ll remove all screws that will come out willingly but the others will have to be cut.
One of the three king beams needs to be replaced. The king beams provide support for the the mast amidship and can only be extracted by removing the top hull plank known as the sheer plank or sheer strake; unless the entire deck is removed. Examining the sheer planks, as we worked on the toe rail removal, I began to seriously wish the sheer planks could stay right where they are. Both port and starboard sides are in fine condition and removing them would mean ‘fixing something that ain’t broke’. I began to seriously consider removing the deck altogether.
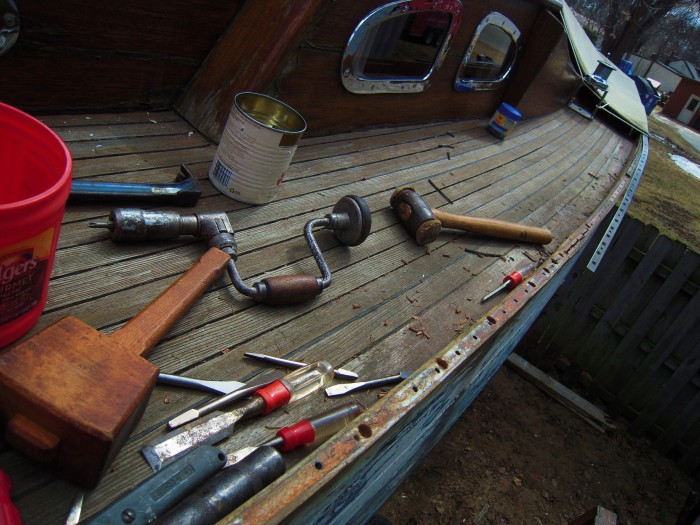
Removing the entire deck might seem extreme but the main issue Reverie faces is this leaking deck. The deck is Douglas Fir and appears in fine condition. It is attached to the deck beams by a method called “secret nailing”. Secret nailing is done much the way that wooden floors in houses are laid. The tongue and groove strips are nailed diagonally through the tongue so the groove covers the nail. Secret nails go into the beams and then additional nails are driven horizontally through each strip tying the strips together even more. A real advantage of this method is that it leaves a nice, clean deck free of bung holes that are all invitations for water entry. The major disadvantage is that it is a real pain to repair. I don’t relish the thought of ripping up this beautiful deck and having to shell out for more lumber. One of the reasons we took on this project was the condition to the wood. The only real wood I thought needed replacing was American White Oak, readily available and relatively cheap here in Michigan. Nice, long, clear lengths of Douglas Fir isn’t going to be cheap.
Remove the sheer planks or remove the deck? And the winner is: Remove the deck. Loathing the thought of removing perfectly good planks that are screwed and riveted was what got me considering the deck option and, from there, it began to make more sense. The damage to the deck beams that can be seen is most likely the tip of the iceberg. I’m sure there’s plenty more rot in the beams that has yet to rear it’s head. The mushrooms growing out to joint in the forehatch carline is a real red flag. With the entire deck removed, all of the tops of the beam can be assessed and a fresh coat of red lead primer can be applied. I’m hoping we can disassemble the secret nailing and reuse the old deck but not banking on it. Que sera, sera. Off with the deck!
Cheers,
Roger